 |
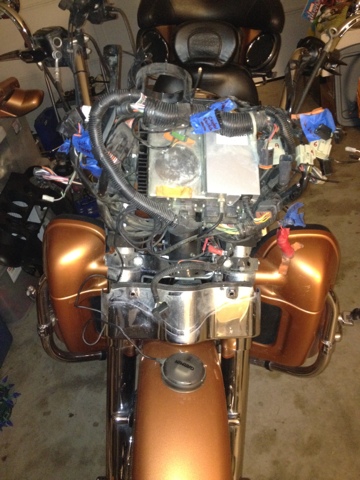
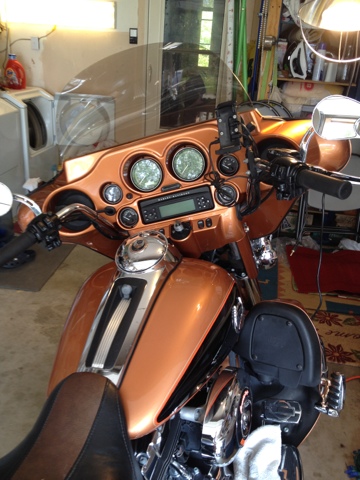
| Finished Product with Chrome Rings on Gauges & Speakers |
Weekend project: A good friend just happen to have an extra inner fairing that he had in storage. He typically orders a painted one on all of his new bikes and even though he's on a 2010 Ultra he had an unused one lying around from his 2008 Ultra. I wasn't too crazy about the idea of getting a painted inner fairing, but my local dealer had dropped what I believe to be brake fluid on my inner fairing and left an ugly bald looking spot on it. So I figured even if I didn't get it painted it would be much better than my current stock fairing. After that weekend I decided to have it painted to match my copper top 105th Anniversary 2008 Ultra Classic and if it looked too much over-the-top I would just hang it in my workshop. The match on color was excellent so I decided to go for it.
I thought about taking the bike in and having it done by my local dealer, but I figured that they would charge me at least three hours labor, a high price to pay just to have a look at it installed. I found an excellent posting on HDForums
http://www.hdforums.com/forum/touring-models/575814-inner-fairing-removal-step-by-step-w-pics.html which provides an excellent description on the removal process so with iPad in hand I dove into it. I had my iPad in the garage ready to refer to that posting anytime I needed to remind myself of what to do next. I planned to do a step-by-step instruction, but bubbas1 in the above referenced post covered every detail you need to know as well as having pictures of each step.
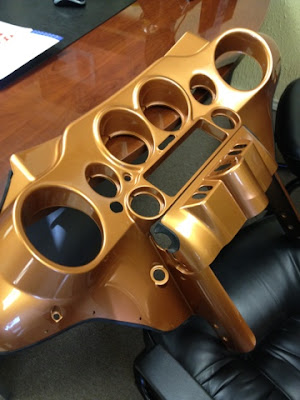 |
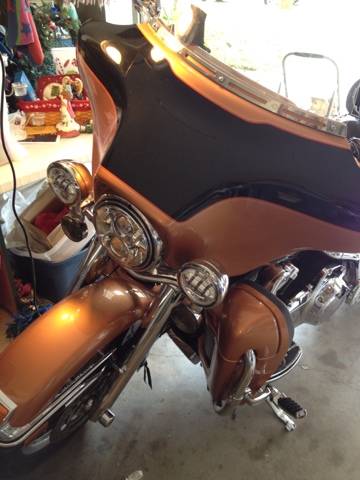
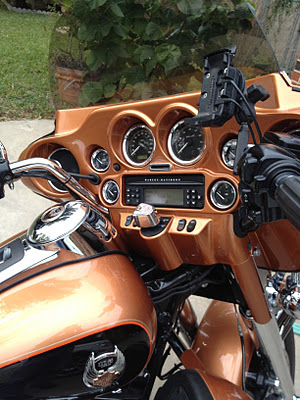
| Newly Painted Inner Fairing |
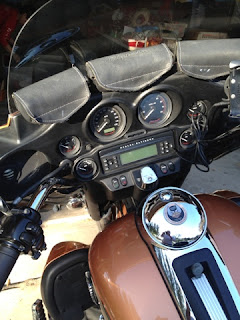 |
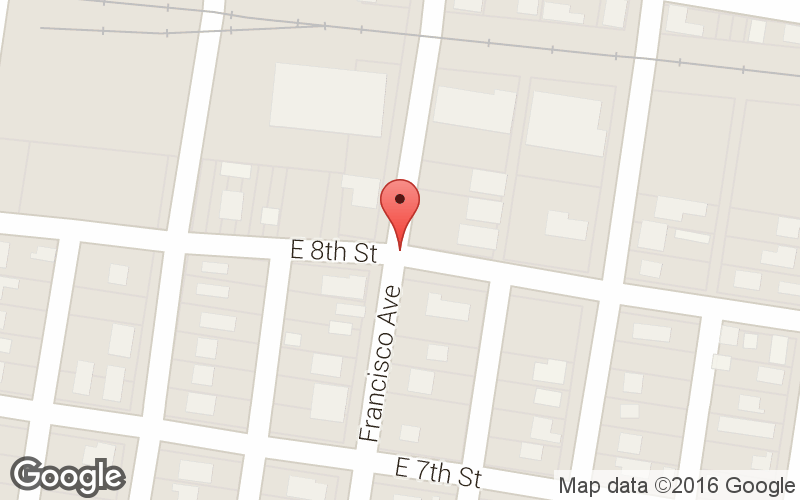
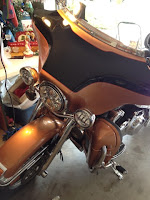
| Here's my Harley before I started the project. |
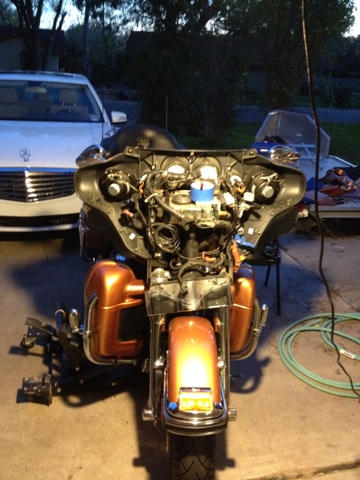
The process is not too difficult just detailed in that there is much to disconnect. As you can see on one of the photos, I labeled all my disconnects just to make sure I got them back not only in the proper order, but also in their original location. Most connector are dummy proof in that each end will only plug into the correct connector, but I took no chances and labeled each and every connection.
 |
| Removed Outer Fairing |
 |
| Remove Inner Fairing |
Removing the Outer Fairing is a snap compared to the Inner Fairing, but once you have everything disconnected the Inner Fairing slides out and up (toward the back of the bike). The hardest part for us was removing the snap ring on bottom of the pin which holds the clutch lever. Without the proper tool to remove those snap rings it can be a hassle. My brother dropped by to help me out and he was able to slide the snap ring off using a couple of small screw drivers. Once I started the reassemble process I made sure to use Dielectric Tune-Up Grease on all my connectors.
 |
| Back To Normal |
 |
| After Installing New Inner Fairing! |
Well here she is after the new Inner Fairing. I must admit that the bike looks radically different, like a custom bike. I hadn't expected such a face lift so I'm glad I did it. The project took me about four or five hours, but I was going very slow since I wanted to make sure all my connections were correct. Having done it once I would say it would take no more than a few hours to do it again. Another additional advantage to doing it myself is that I now feel very confident in replacing any of my gauges, especially the famously inaccurate "air temperature" gauge for an oil temp gauge. Save yourself a chuck of money and do the job yourself and you'll be glad you did.